
Track bed preparation
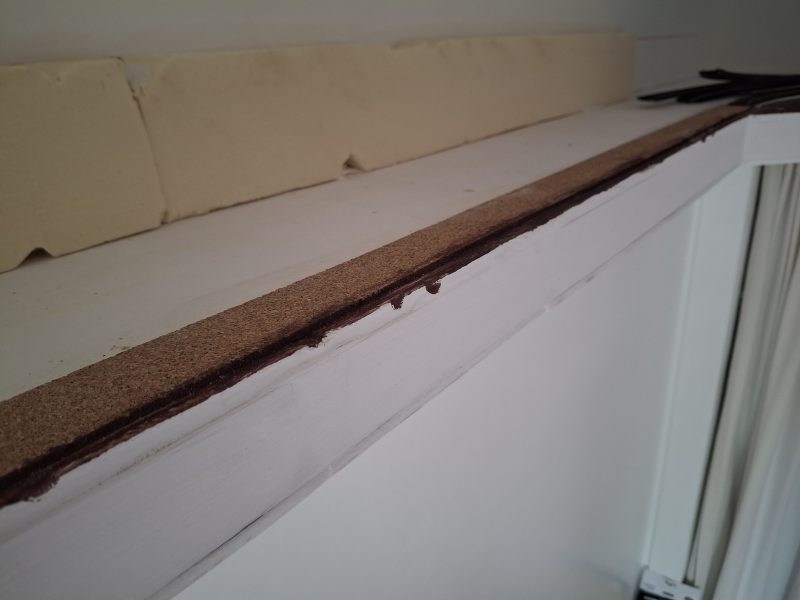
Following the purchase of two rolls of 3mm cork at the St. Andrews model railway exhibition, the rolls were cut into 35mm wide strips. The track locations that had been marked of the baseboard were checked and the first area of straight track markings was painted over with undiluted PVA glue. A piece of cork was also painted on the underside with undiluted PVA, placed over the marked location and stuck down. This was allowed to dry before the next straight piece was laid.
The next experiment with cork was to get some glued down on the outside rail curves. For this, a cork strip was cut lengthways into three pieces and each piece laid on PVA glue separately.
High-level goods track
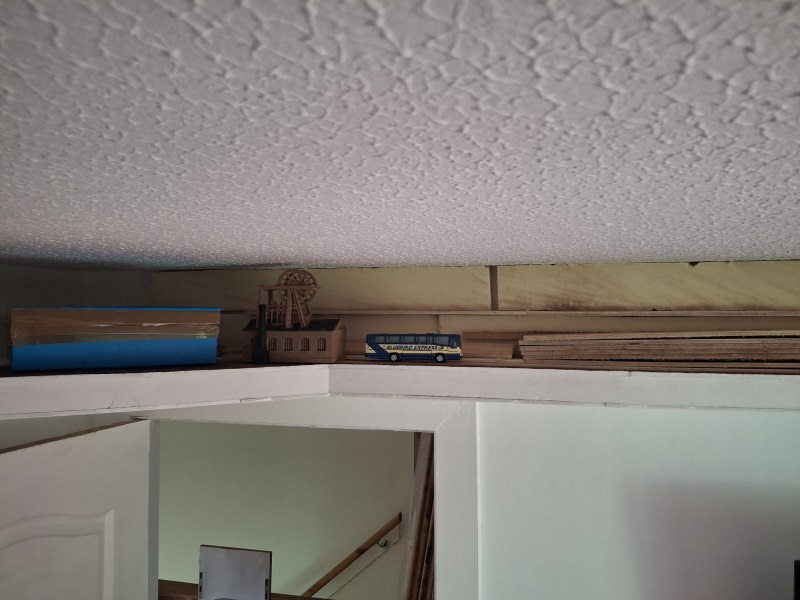
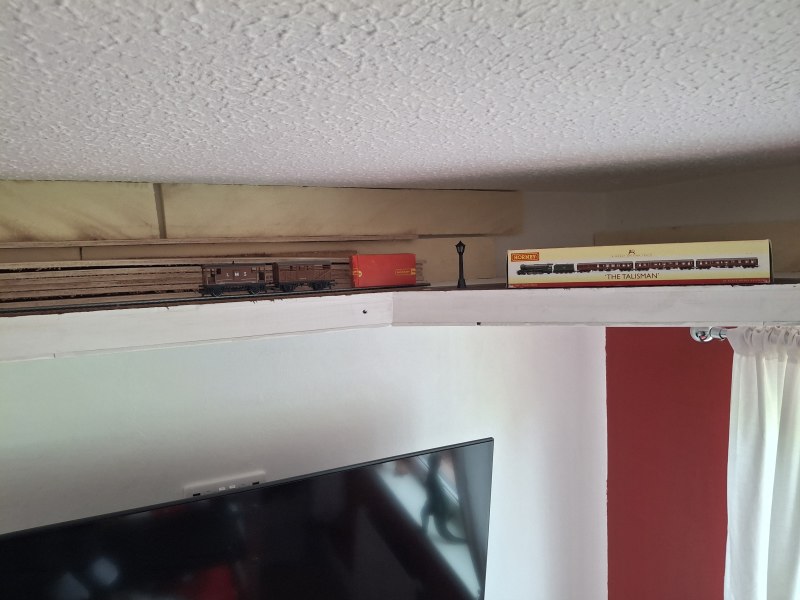
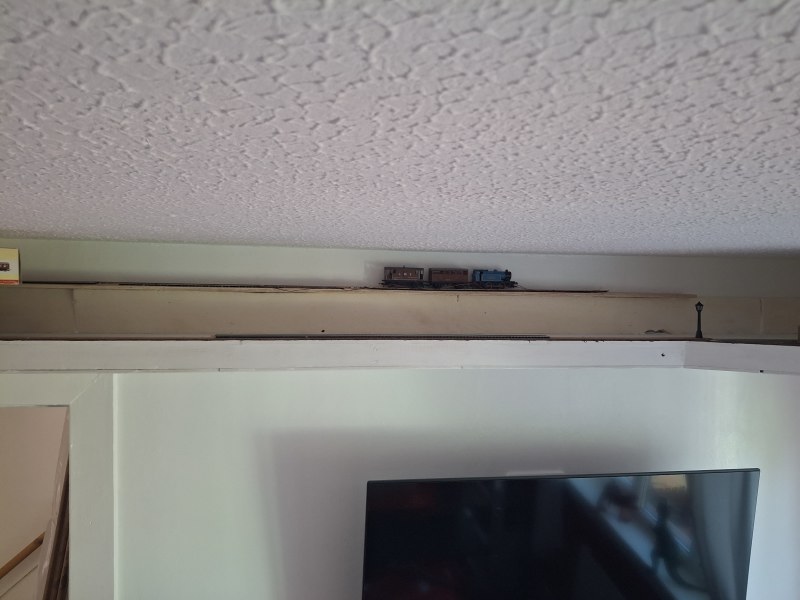
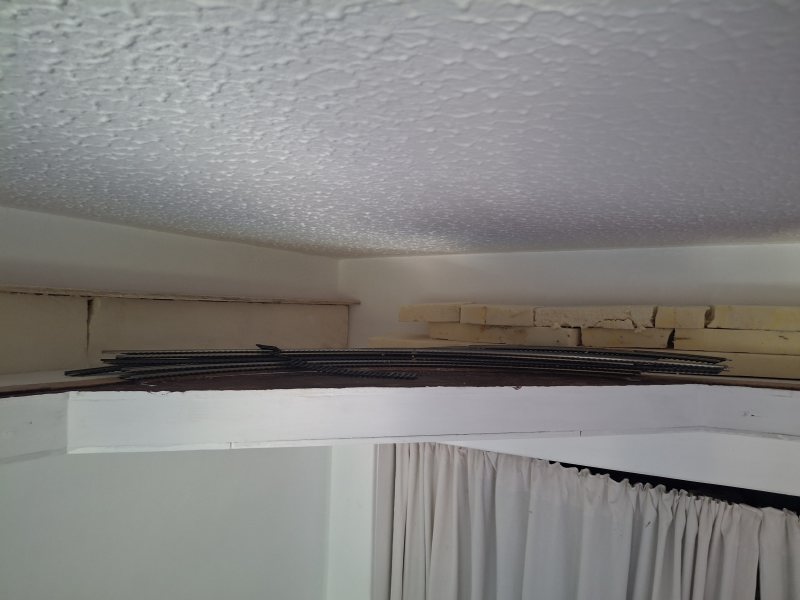
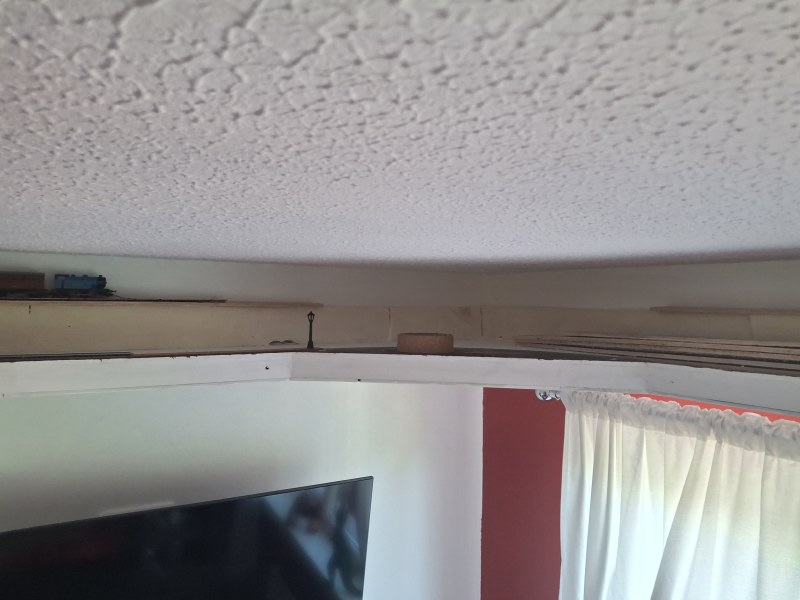
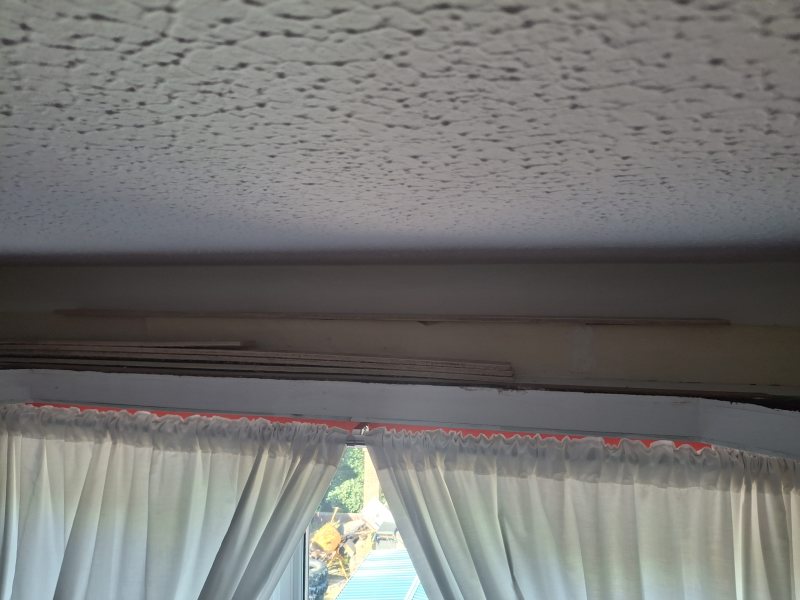
For the higher level end to end track at the back of the layout, Kingspan insulation was cut into 30mm wide strips, the insulation being 90mm thick.
These strips of insulation were fixed to the baseboard with a grip adhesive, and coated on the front face with undiluted PVA glue to seal in the dust.
A 60mm wide strip of 9mm plywood was fixed to the top and held in place until the adhesive had dried.
 |
 |
 |
 |
 |
 |
 |
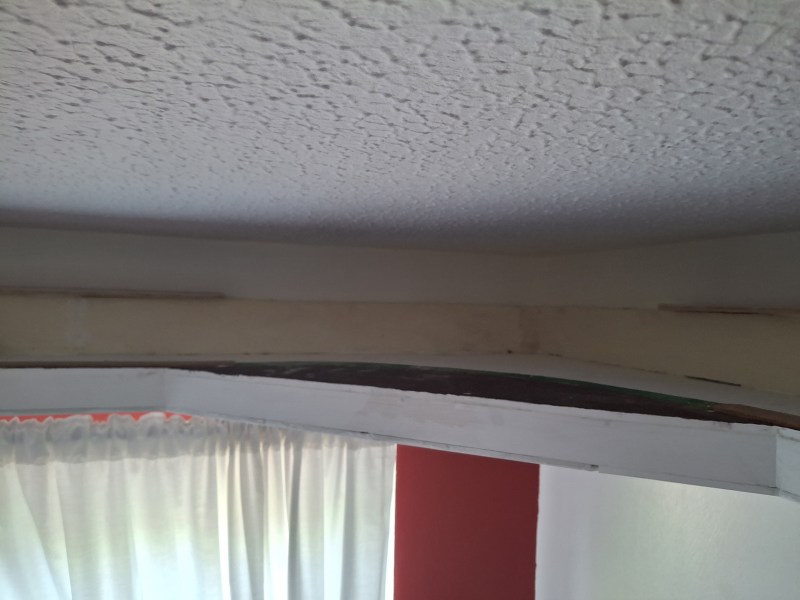 |
The insulation being cut to 30mm wide and the plywood to 60mm wide was deliberate - the insulation is against the wall and securely fixed, the plywood overhanging by up to 30mm. This is to allow the middle (low level) track to have the maximum clearance at the 'stations' - a measurement which I have not worked out yet, but giving a few extra mm under the high level trackbed at this stage will not hurt, and allows for more creative ways to fill in any gaps.
The plywood sections for the corners have been marked out, cut and fettled. All of the plywood has since been painted a dark brown colour. The corner pieces have, for now, not been fixed into position, as I think that it will be easier to fit the cork before fixing the wood in place.
More cork was needed to complete the track bed as there were only about four pieces left, however another two rolls would probably complete this part of the work for all three tracks, and another roll would be useful for bringing items up to track height. So with the final pieces of available cork glued down, I ordered three more rolls of 3mm cork from the same supplier, which arrived through the post soon after.
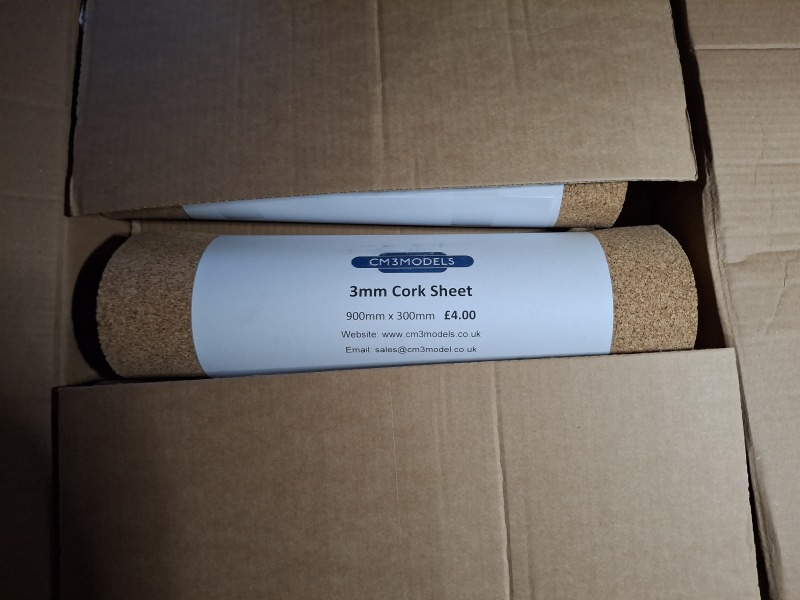
The following weekend saw some of that cork being laid, including on the high level corner pieces, to allow for their final installation. The middle track location was measured out for track gaps and after measuring the length of a loco, tender and three mk1 coaches, I have decided to move the stations to the short sides of the room (window and cupboard walls) which allows the middle rails to be closer to the outer ones on the long stretches and give slightly better visibility of the middle track rolling stock as it goes round, which is of course hampered by the layout's altitude and viewing angle.
The corner pieces have since been glued into position, and the cork strips finished off to complete the track bed.
The 'middle' track cork bed has now advanced, with just two corners left to fix. Laying this out we had to leave room for the two station platforms, which I have moved to the shorter sides of the room, to allow for maximum visibility of the middle track rolling stock. Viewing this will be difficult from standard angles, and the possibility of remote viewing is being considered.
Materials:
5x Rolls 3mm thick cork 900mm x 300mm - www.cm3models.co.uk
PVA glue - Wickes.
Sika Stixall adhesive / No More Nails original adhesive. (Sika stuff sets faster)
Plywood 9mm - remains of original sheets from B&Q.