
First steps - Decorating
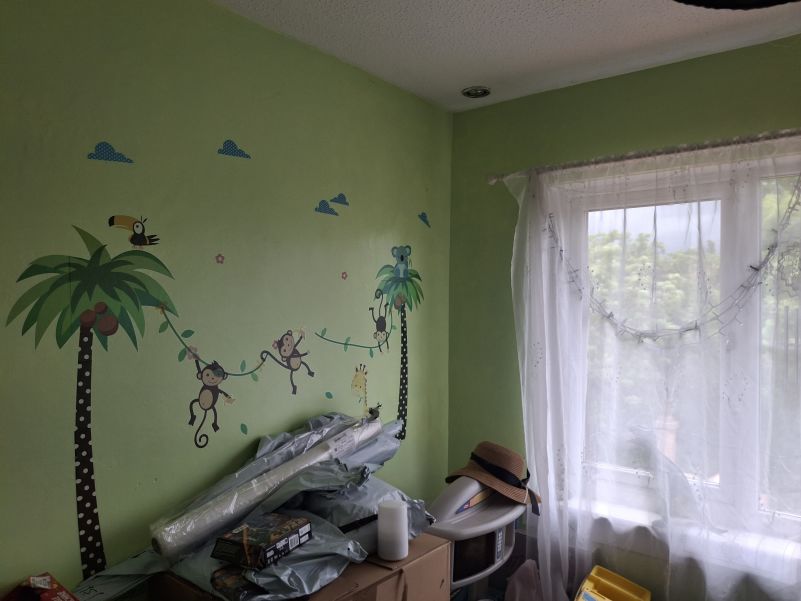
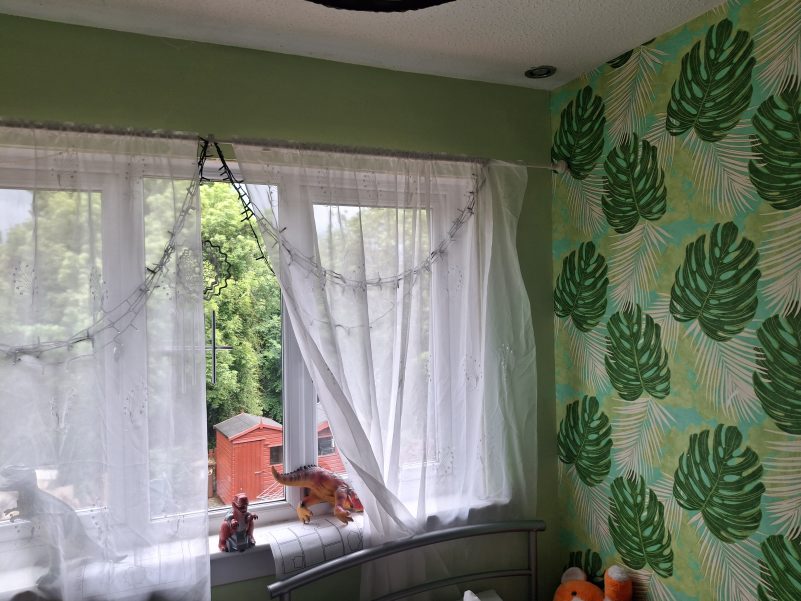
So the question of decorating the 'spare' bedroom came around again, and a full colour change was mooted. The main stakeholders in this enterprise (my grandchildren) wanted red walls, and they were currently green (the previous request had been for a 'jungle' room) and would need to be painted with several coats of white paint to hide the green before even thinking of the red.
 |
 |
I agreed to get started, but I took this opportunity to suggest a shelf mounted railway around the room at high level, something like this:

The boss gave an affirmative reply, much to my surprise, and so as decorating began, so did planning.
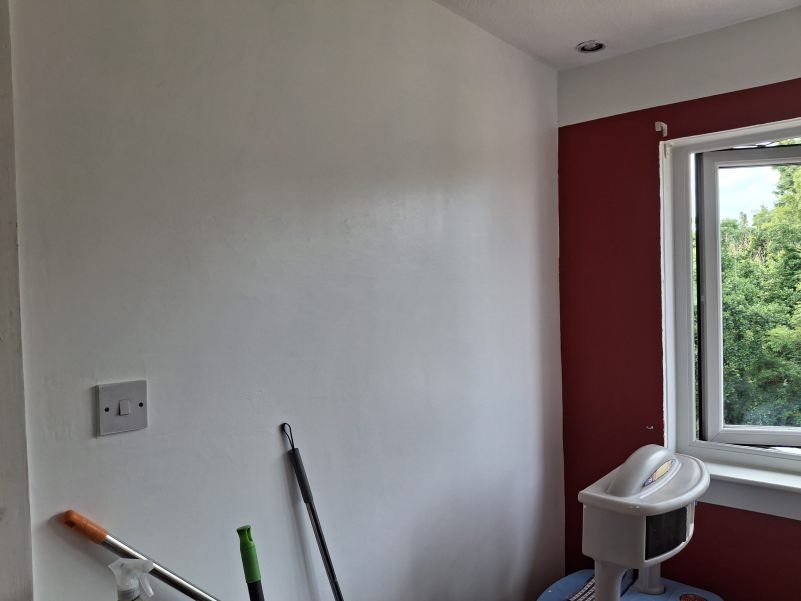
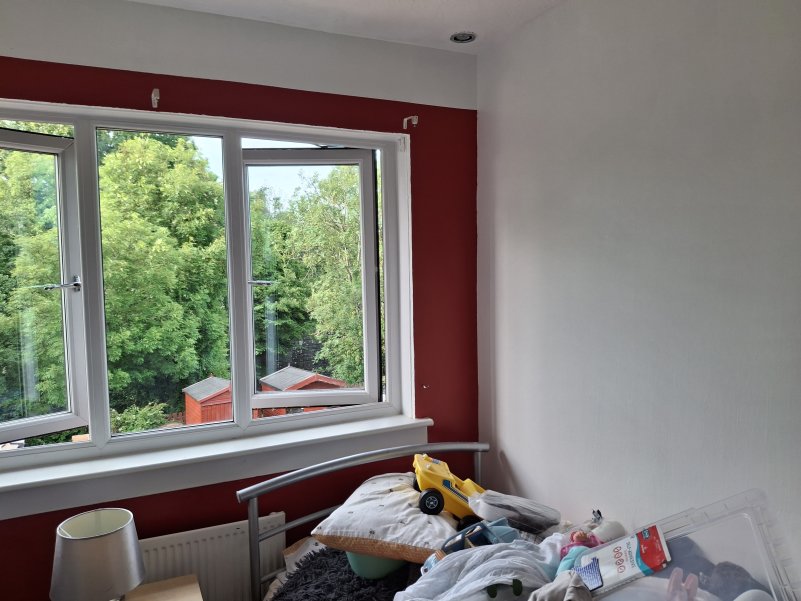
With decoration ongoing, four coats of white to get rid of the green, and three coats of red to get rid of the white.
The ceiling was given a coat of white too to freshen it up.
As you can see below, the boss decided on only one red wall in the end.
Further fettling and tidying will be an ongoing thing.
 |
 |
Planning - Measurements
On measuring the room, I found that the room is 2468mm wide and 2830mm long.
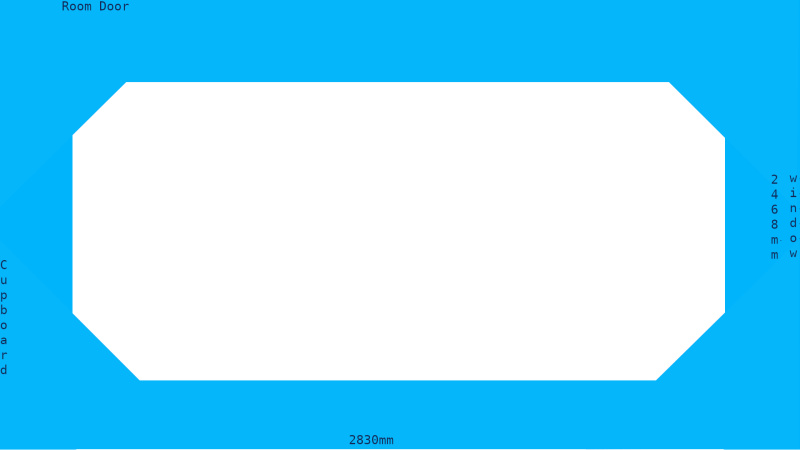
The smallest clearance from door facings etc. to ceiling is 240mm.
Looking at shelf construction, this will be in three layers:
9mm plywood baseboard layer.
44mm x 18mm whitewood PSE (Planed Square Edge) batten frame.
5mm MDF decorative underside layer which will cover up the wiring etc. and will be painted white.
This means we need to be 50mm up from the smallest clearance to the top of the battens - 190mm from the ceiling.
With the baseboard, cork and track, up to another 20mm will be used up, giving around 170mm of vertical space to work in.
Planning - Layout frame
The edge of the frame will need to be faced with a more decorative facing and painted.
The baseboard should be capable of taking up to three tracks.
Two of those tracks will be loops.
One will run end to end (innermost).
Planning - Room alterations
Alongside the layout works, the room needed updating to match current use. A shortlist of was agreed.
The two ceiling spotlights will be deleted and the ceiling patched and painted.
New LED lights will be fitted on the underside of the four corners of the layout.
The centre ceiling rose will be cleaned up and a new shade fitted.
Doors and skirtings need to be repainted.
Curtain pole brackets cleaned up / moved down.
Light switch to be replaced for one with two (or maybe three) switches.
Sockets to be cleaned up.
New doors on the cupboard.
Bigger shelves in the cupboard.
Plaster tidy up around the windows and repaint / retouch all walls.
Installing the layout frame
So with a bit of fiddling and measuring on the desk, it seems that roughly 210mm wide on the straights is about optimal for my three track plan, while giving some chance that trains may be seen from ground level. The third (innermost) track will need to be raised to be seen.
With this in mind, the next thing was to measure how much space was taken up by a third radius bend (with a radius of 505mm), with the nearest track edge (sleeper end) placed around 10mm from the edge (200mm from the wall) on both ends of the corner. This came out at very roughly 700mm, and that seemed like a good round number to go with.
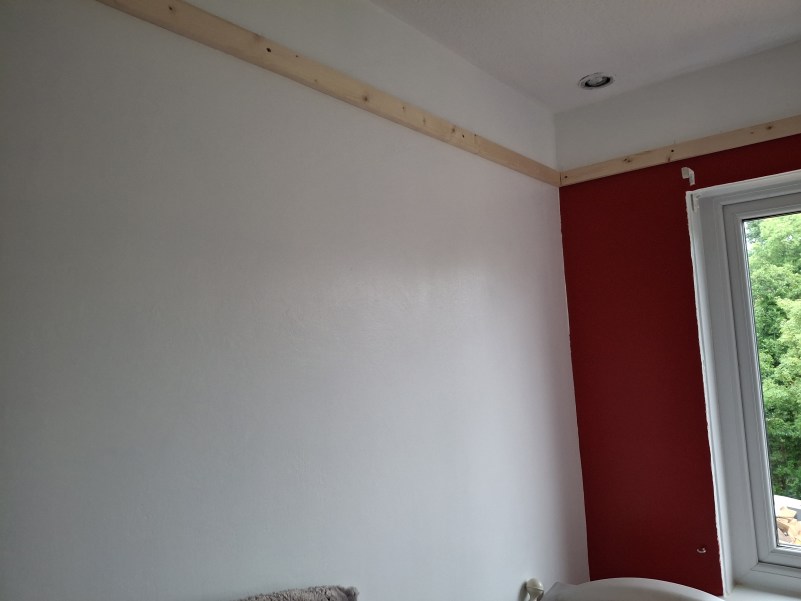
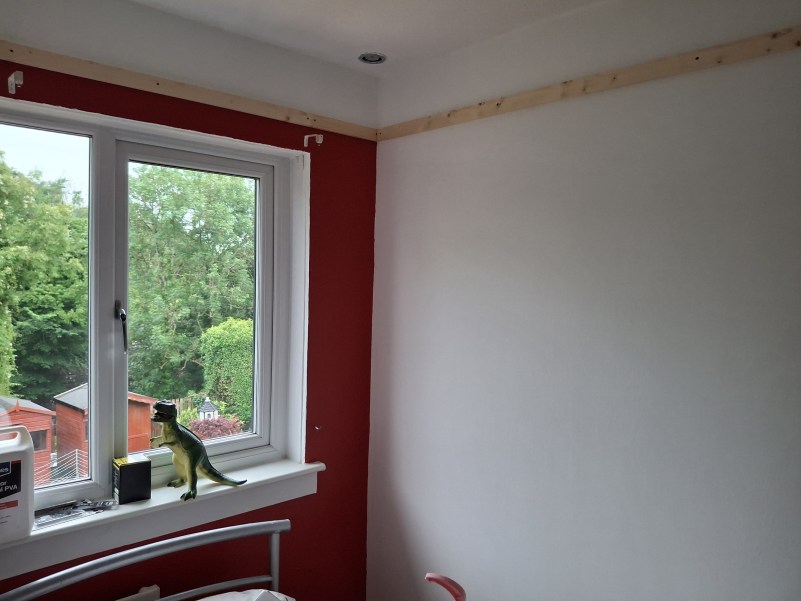
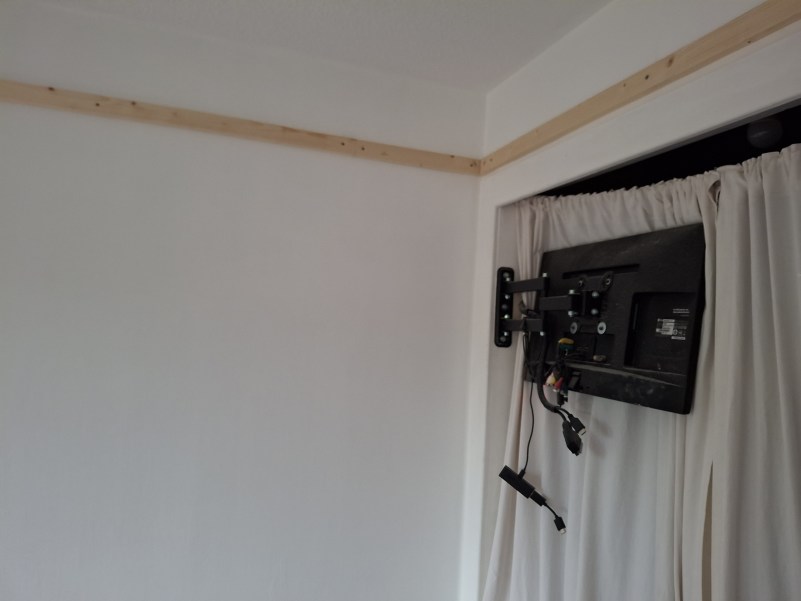
Constructing the layout frame without using brackets was important to me, so when the first load of battens were fitted, wall stud locations were found and the battens were securely fixed to the wall studs with 60mm long screws.
 |
 |
 |
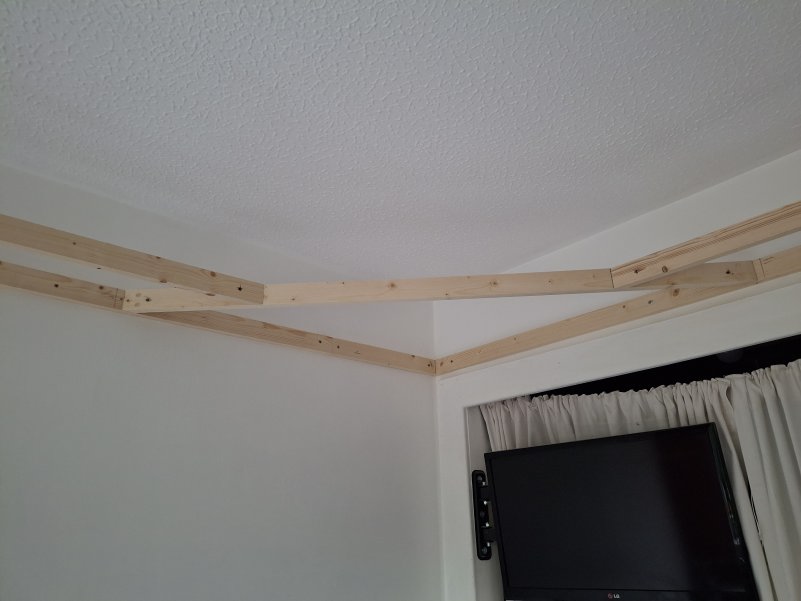
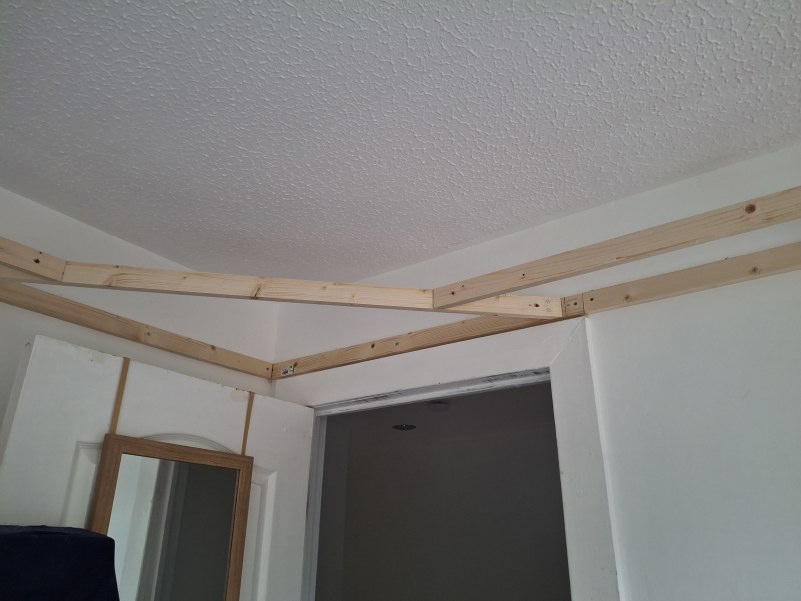
To make the rest of the frame self supporting and levelling, I decided on diagonal battens for the corners.
The overall frame would look something like this:
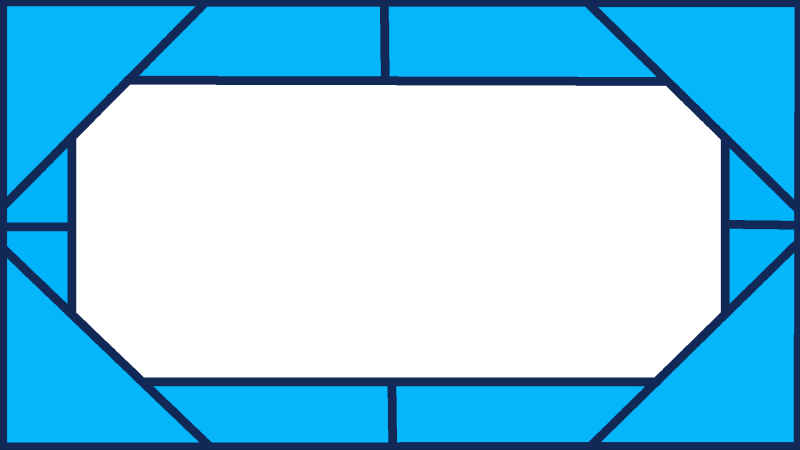
With the measurements given for the straights and the requirements for the corners, we plotted a right angled triangle with two sides of 700mm (required radius) plus 210mm (Track baseboard width), giving 910mm on a side.
Using an online program, I found that the diagonal edge should be 1287mm from wall to wall.
I took a little off to allow for the depth of the battens already against the wall and opted for a diagonal at 1250mm, which may not be fully accurate, but is close enough.
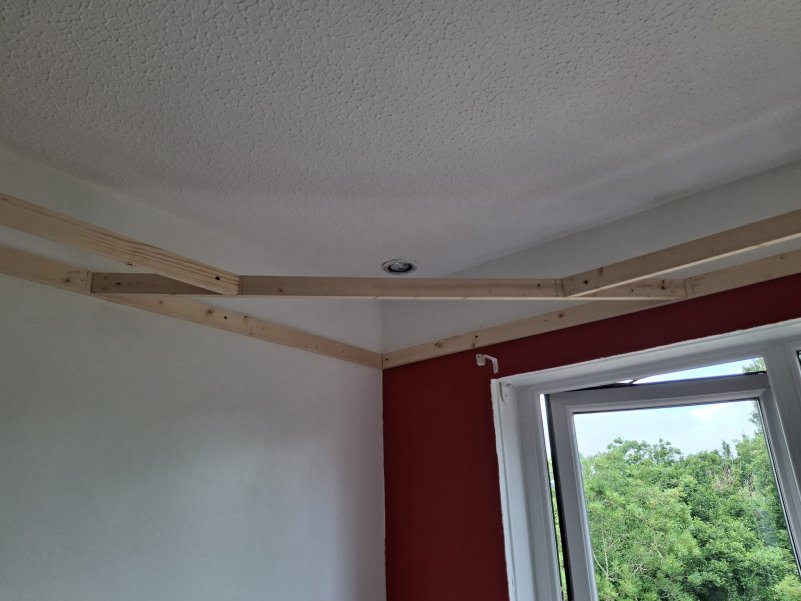
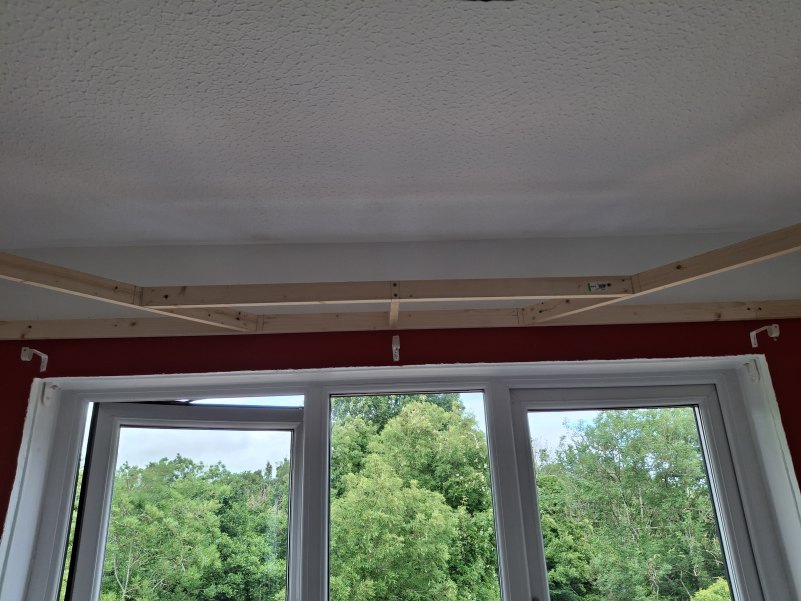
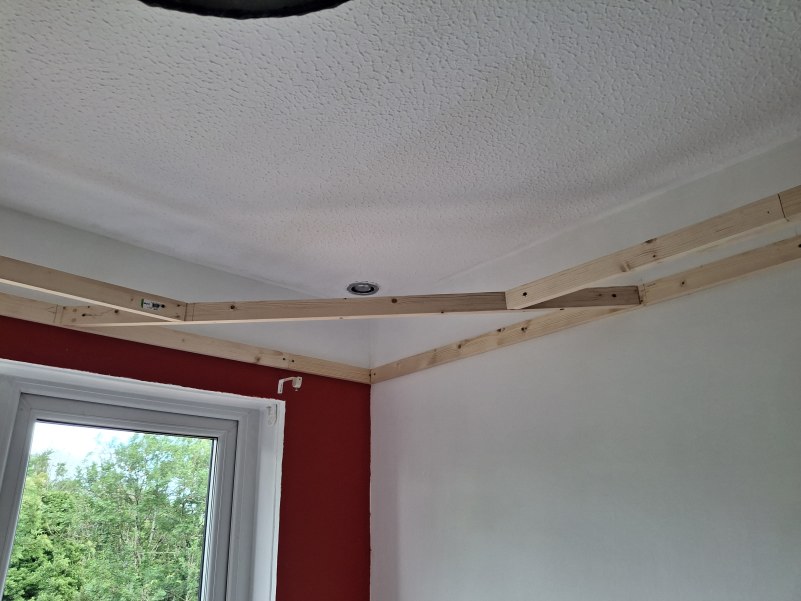
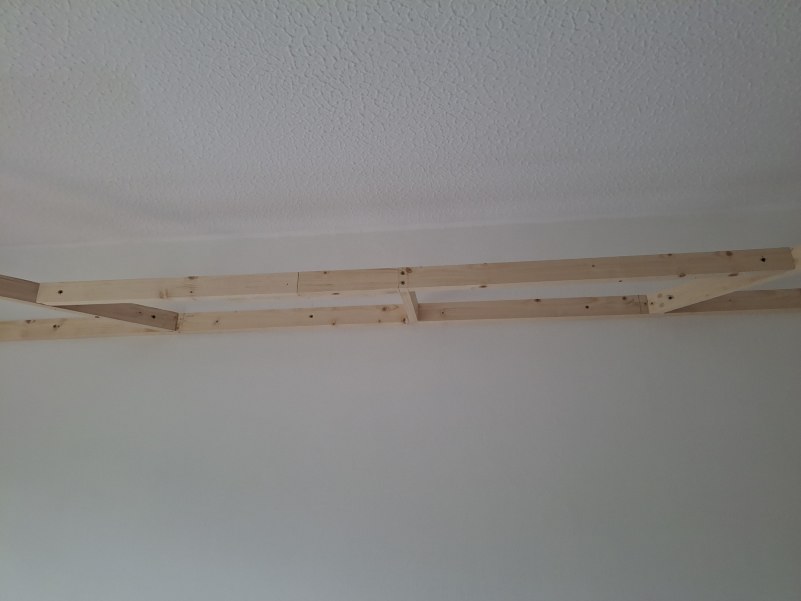
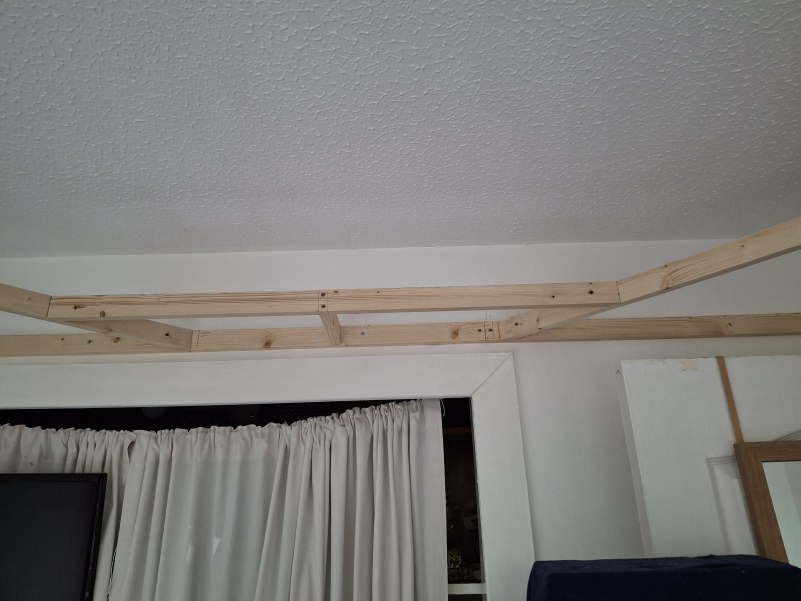
Once these corner sections were glued, screwed and dowelled, the outside frame of the straight sections could be added, and fixed to the corner diagonals.
Some braces were then added to the straight sections.
This frame came out like this:
 |
 |
 |
 |
 |
 |
 |
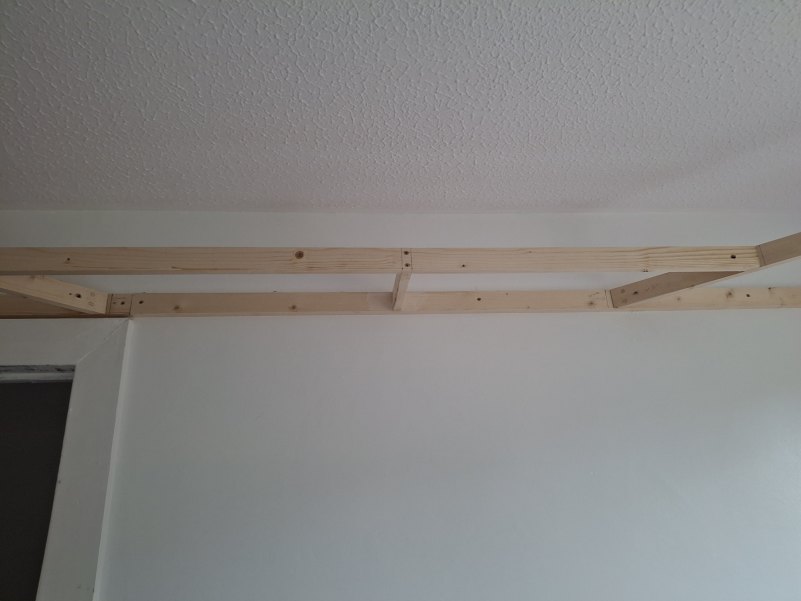 |
Which will most likely mean that the trains will disappear from view on the corners - something to think about later.
With the basic frame now in place and that room space booked, I can continue with the decorating and room alterations.
Room alterations to-do list and progress
The two ceiling spotlights will be deleted and the ceiling patched and painted. - Done.
Plaster tidy up around the windows and repaint / retouch all walls - Done (for now).
Sockets to be cleaned up - Done.
New socket wired for TV (and Playstation) in new location (new list addition) - Done.
The centre ceiling rose will be cleaned up and a new shade fitted - Done.
Doors and skirtings need to be repainted - Done.
Curtain pole to be replaced - Done.
New LED lights will be fitted on the underside of the four corners of the layout - Done.
Old TV to be removed from cupboard door area - Done.
Re-install TV and Playstation - Done.
Fit new 2-gang light switch (new list addition) - Done.
New USB equipped double socket at bedside (new list addition) - Done.
Mount Playstation on wall under TV (new list addition) - Done.
Remove the old furniture (new list addition) - Done.
Build a new bed-side cabinet (new list addition) - Done.
Build a new bed (new list addition) - Done.
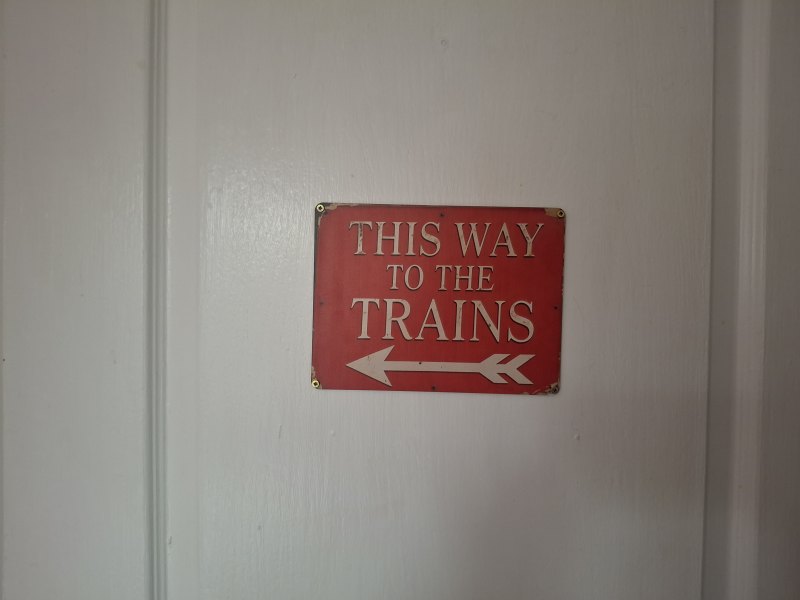
Affix new door sign (new list addition) - Done.
Bigger shelves in the cupboard - Done.
To do.
New doors on the cupboard.
Frame trim.